Showing posts with label magnetic snap closure. Show all posts

January 21, 2011

January Projects

Hannah and I have been working quietly (okay, not so quietly, really) behind the scenes since recovering from the holidays.  We've been having weekly meetings and getting quite a bit accomplished, though the poor blog has suffered somewhat.  We just wanted to let you all know we're still here, and are so excited about our new website launching soon.

I know we've talked about it for a while now, but we just got the "rough draft" copy sent to us and couldn't be happier.  With just a few tweaks, we'll have it up and running in no time!  And we will have e-commerce for those who just want to buy straight from the website (without going through etsy). 

We're also close to finishing our press kit which will got out to certain blogs, boutiques, magazines, and local TV stations.  Hopefully, we'll have a date soon that we can tell you all about the launch.  Oh- and don't worry, we're keeping the blog (it may have a new address, but we'll tell you all), and plan on doing more tutorials soon.

Hannah started making iPad covers and after she made a laptop cover for her computer and mine, she started making more- ours are 15", but as always, we take custom orders, so just email us or convo us on etsy if you're interested in having a one-of-a-kind cover for your latest techie gadget!

Here's a little peek at some of the goodies we've been making:

we're starting to think Spring!

a little craft organizer- grommets are going in the top so you can hang it on the wall


laptop case with my most favorite fabric ever


iPad cases- these were scooped up out of our etsy shop almost as soon as they were listed!  yea!

these cute dog collars almost make me wish I had a dog!

So even though we have been working on a lot of logistical things behind the scenes here at FlyChicks, we're still managing to remain crafty and productive (lots of knitting going on too!).  Hope you all are enjoying the new year- we're ready for Spring!  Can you tell by the purse above with the fun, bright graphics?

December 12, 2010

New Items in Shop and "About Us"


After a somewhat stressful week of photo-editing and mini-meltdowns, new items are now in our shop.  Some of these items have made an appearance on the blog before, and some may be brand new to you.  Also, there are three that I couldn't upload pictures for because, well, I'm really not sure why, but Hannah is going to get those three up and running in the next few days.  So check now, and check back in a few days if you like.


 There's a pretty big gift giving holiday coming up if you haven't noticed; we're running a FREE SHIPPING special through the end of December for all those who may need some last minute gift ideas. 


Also, we had a close, long-time friend and very talented gal write our About Us page.  Check that out, too, if you want to know more about FlyChicks and the girls behind it!  She put that together as part of the Press Kit we will be sending out in the new year.


We're also working with an extremely talented web-designer who is crafting up a brand spankin' new website for us.  We're really excited for the launch of that (look for it at the beginning of the next year) and can't wait to become a real business.  Hannah has been busy catching up on custom orders and designing new laptop covers.  I don't know how we're ever going to focus; there are always so many great ideas running around in our heads!


Hope your Holiday season is going well! 

November 29, 2010

Upcycled Clutch Tutorial


We'd like to start off by apologizing for two things: 
1) Hannah's manicure (or lack thereof)
and
2) The bad lighting- Hannah's studio is in the basement, so we always have to "make it work" when photographing tutorials

Having addressed that (and if you wonder about our thumbs, visit this tutorial for an explanation!), you may need some experience with sewing to understand and follow this tutorial.  I tend to "over-explain" so I'm going to try not to do that and let you follow the pictures; if you have any questions, please feel free to contact us and we will get back to you as soon as we can.


We used some brown tweed material from some old pants that Hannah's fiance donated to her stash a few weeks ago.  We like to find materials that have had a former life and give them a new, more fabulous life, so we thought these would be perfect!  We're also loving all of the felt we've been seeing these days, so we decided to include a little felt flower with  a button as an embellishment on the flap.  And we used our signature linen for the material on the flap.  All parts of the clutch are lined with simple muslin, but you can trade out any materials or prints that you please.

Materials:
- upcycled tweed
- linen
- felt (2 colors)
- button
- sewing thread
- embroidery thread
- fusible fleece (interfacing)
- 2 magnetic snaps

Hannah working on the design

1) Choose fabrics, cut to size, press, iron on fusible fleece
Our measurements are as follows:


-brown tweed (for body of bag) 14" x 7" [2 pieces]
- linen (for flap) 13.5" x 5" [1 piece]; it has to be a 1/2" less so that it fits as a flap later on
-muslin (for lining) 14"x7" [2 pieces] and 13.5" x 5" [1 piece]
-fusible fleece 14" x 7" [2 pieces] and 13.5" x 5"


(when ironing on the fusible fleece, make sure the glue dots are facing the fabric, not the ironing board; Hannah has made that mistake before and doesn't recommend it!)


2) Once all fabrics are cut to size and interfaced with fusible fleece, we're going to work on the flap first.  Cut out 2 circles of felt- one of them should be a little larger than the other since you are layering them.
Grab a cute button and some embroidery thread and assemble the flower; sew onto the flap piece:


3) Lay muslin (lining) on top of embellished flap, fold in half, use scissors to round the bottom corners, then unfold and pin together:


4) Sew the muslin to the RIGHT side of the linen flap (making sure not to sew the top edge), leaving a 1/4" seam allowance.  Cut notches around the rounded corners, then turn right side out:


5) Take to ironing board, press, then topstitch around the sewn edges: 


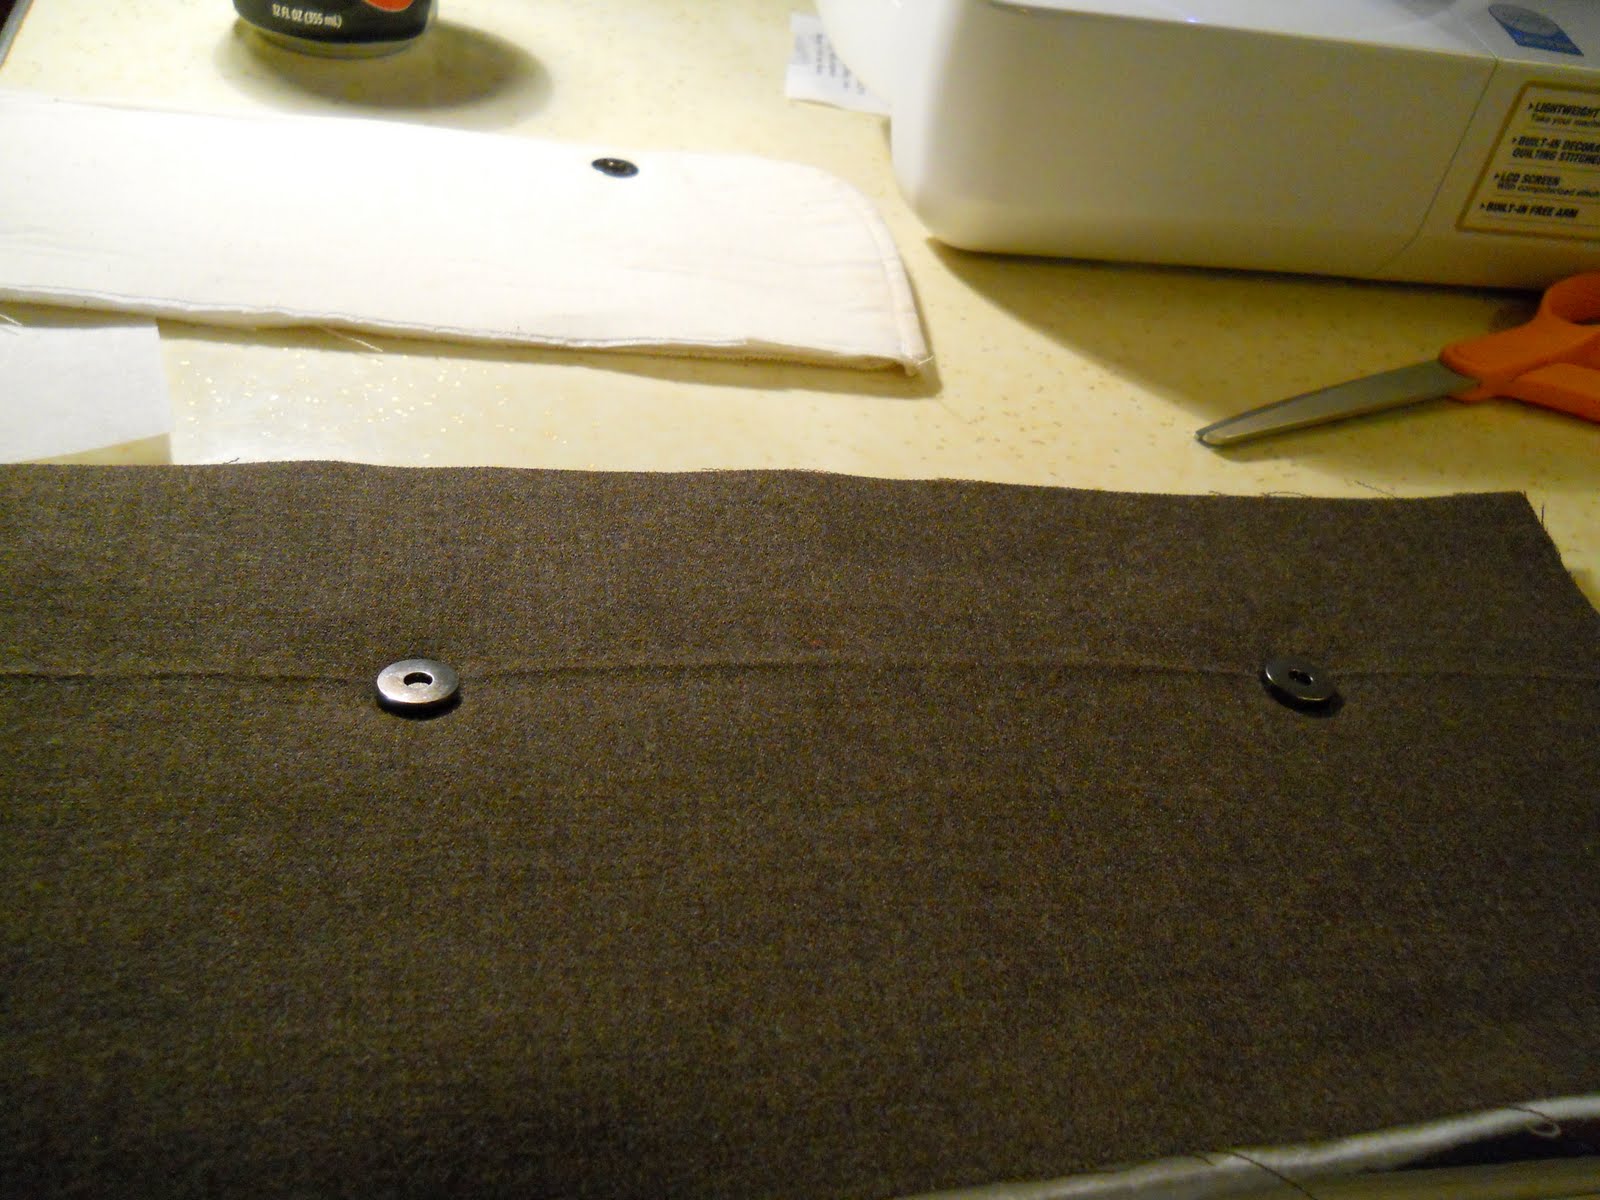
6) Now we will add the magnetic snaps.  Since the length of the flap is now 13", we are going to mark our snap placement at 3" and at 10".  Use a fabric pencil to mark your snap places (yeah, I know, we used a pen).  Cut 2 small holes on either side of your placement; the snap legs will go through these.  Make sure to only cut through the muslin lining, not the linen front:


A trick for making sure the snaps stay sturdy throughout the life of the purse, is to fold up a square of lightweight fusible fleece, cut two notches in it and place the snap legs through those on the inside of the flap (between the muslin and the linen layers).  Slip the little disc (that comes with the snaps) over the snap, and use pliers to fold the legs inward.  Trim fusible fleece.


7) Once you've added the two snaps on the flap, it's time to line it up on the body of the bag.  Although we haven't sewn the body yet, you can place your flap on top of one of the brown tweed pieces to see where the "receiver" snaps should be placed.  Remember- your flap will be about an inch narrower than the body; also, leave some room at the top of the flap for some give (about 1-2").  We really just eyed it here:
(place "receiver" snaps in the same manner as above)


8) Make sure the snaps all line up, then remove the flap.  Now we'll sew up the body of the bag.  Place right sides together, pin, and sew along the two sides and the bottom.  Trim any excess and the corners:


9) Now we'll sew up the body's lining, made out of the muslin.  Pin right sides together (with muslin, there's not really a "right" side), and sew, making sure to leave a 4-5" hole at the bottom.  Again, trim any excess and corners:


10)  Turn the lining right side out and put it into the body of the bag so that RIGHT sides of the lining are facing the RIGHT sides of the body (body is inside out at this point). 

Okay, here's where it can get tricky.  Place the flap with the flower side facing the back of the body of the bag (where snap receivers aren't), pin around the opening, and have the flap come up about 1/2" more than the bag and lining for room to allow some give.  Make sure to line up the seams, and sew around the opening where you pinned:


11)  Now, turn your purse right side out through the hole in the lining and push the corners out with your fingers.  Almost done...


12)  Pin around the top to keep the lining in place and topstitch around the opening with matching or coordinating thread (we used gray on top and white on bottom).  Sew up the hole in the lining, and you're finished!


Feel free to add your own flair or mix it up a little.  Hope you enjoyed our tutorial; check out some of our other great tutorials on our Tutorial Page for more inspiration!